2. เลือกไปที่ Mail > Add Account

3. เลือกไปที่ Other Mail Accounts

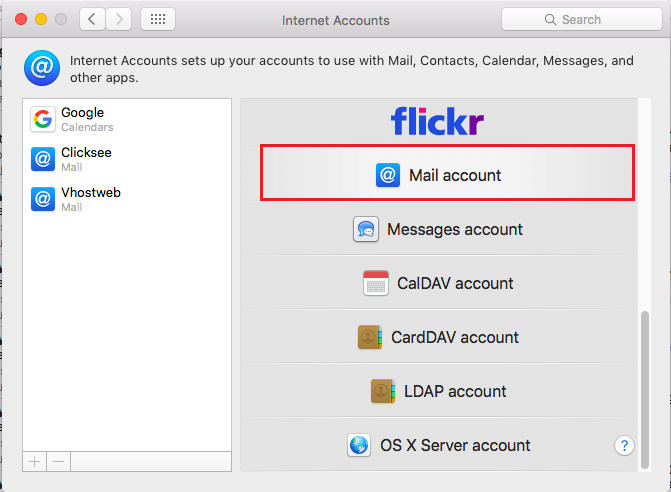
4. ที่หน้าจอนี้ ให้เลือกไปที่ Mail account.

5. ใส่ข้อมูลลงไปในช่องกรอกข้อมูล, คลิ๊ก Sign-In

6. ให้ทำการใส่รายละเอียด ตามข้อมูลด้านล่าง
โดย Incoming Mail Server : mail.domainname.com
Outgoing Mail Server : mail.domainname.com

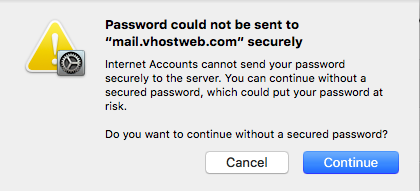
7. ที่หน้าจอนี้ให้ Click Continue เพื่อไปยังหน้าจอถัดไป หน้าจอนี้ให้คลิ๊กไปที่ Continue

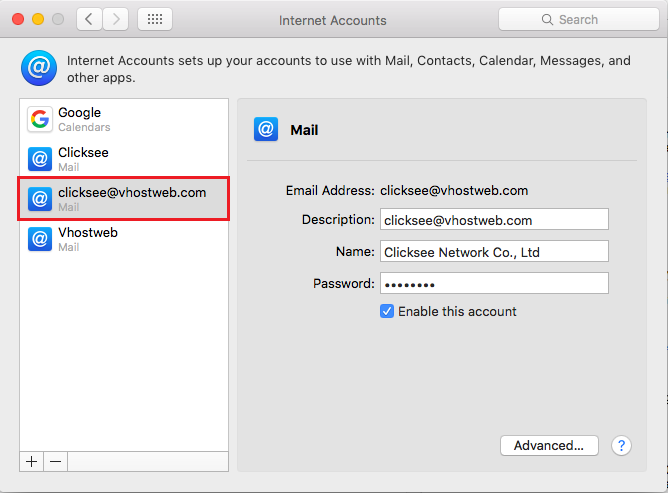
8. ท่านจะพบอีเมล์ ที่หน้าจอฝั่งซ้าย

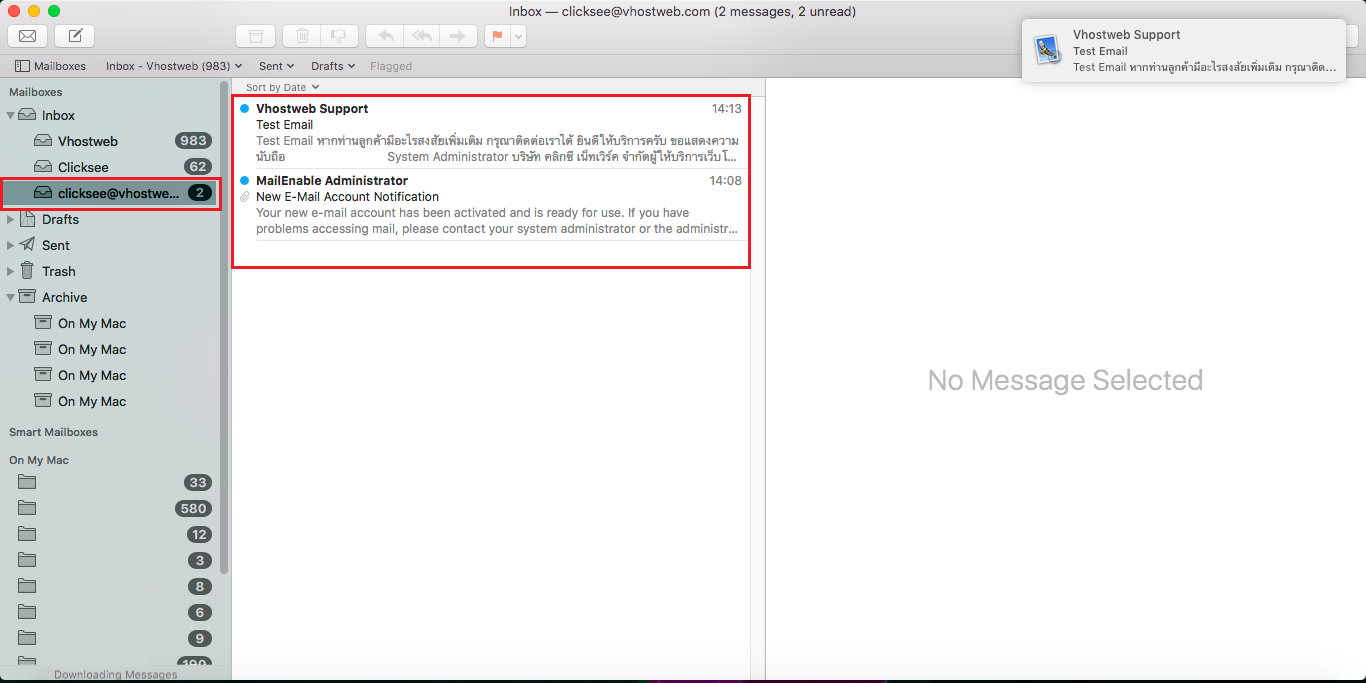
9. กลับไปที่หน้าจอ และคุณจะพบอีเมล์ทั้งหมดในอินบ็อกซ์


